반응형
Client
using System;
using System.Net.Sockets;

class TcpClientExample
{
    public static void Main(string[] args)
    {
        TcpClient client = new TcpClient("192.168.1.1", 80);
        NetworkStream stream = client.GetStream();

        byte[] data = System.Text.Encoding.ASCII.GetBytes("Hello World!");
        stream.Write(data, 0, data.Length);

        Console.WriteLine("Sent: {0}", "Hello World!");

        stream.Close();
        client.Close();
    }
}
Server
using System;
using System.Net;
using System.Net.Sockets;
using System.Text;
class TcpServerExample
{
public static void Main(string[] args)
{
TcpListener server = new TcpListener(IPAddress.Any, 80);
server.Start();
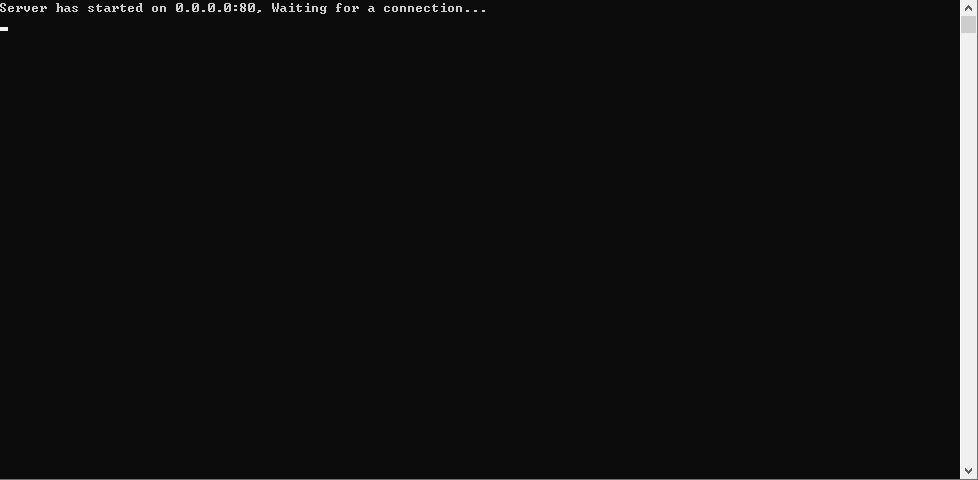
Console.WriteLine("Server has started on {0}:{1}, Waiting for a connection...", IPAddress.Any, 80);
TcpClient client = server.AcceptTcpClient();
Console.WriteLine("A client connected.");
NetworkStream stream = client.GetStream();
byte[] data = new byte[256];
int bytesRead = stream.Read(data, 0, data.Length);
string message = Encoding.ASCII.GetString(data, 0, bytesRead);
Console.WriteLine("Received: {0}", message);
stream.Close();
client.Close();
server.Stop();
}
}

반응형
'Development' 카테고리의 다른 글
| VS Code Classic ASP 모드에서 Emmet 사용하기 (1) | 2022.03.20 |
|---|---|
| Google Chrome (구글 크롬) 에서 페이지 새로고침 하기 (0) | 2018.07.16 |
| IIS ASP Microsoft VBScript 런타임 오류 '800a01ad' (0) | 2017.05.12 |
| [ASP] An error occurred on the server when processing the URL. 에러가 발생할때... (0) | 2017.01.03 |
| SQL Server 로그인 아이디의 암호 정책 강제 적용, 암호 만료 강제 적용 시 MUST_CHANGE 오류 발생시 (오류 15128) (0) | 2016.07.25 |